The first Puch I ever loved was a JCPenny Swinger2. Something about the lines just makes me love them. When I got my hands on a Swinger1, it was like meeting a younger, hotter sister of the Swinger2. Part of the appeal of these mopeds to me are the awesomely 70's name and boldly proclaimed so largely on the side of the tank. When I had the Swinger1 powder coated, that meant I had to say good bye to the decals. Well, I got a hold of a reproduction set and I'm stoked. They look awesome, and I took some pictures of the installation process, since I neglect my moped blog being in School again and also not doing that much moped stuff other than ride.
I had Polini decals on the tank because they match the colors nicely, and to hide a small dent. ;)

I removed them with a razor blade, and this was the sticky mess that was left. To prep the tank for the new decals, one should clean with denatured alcohol. I didn't have any, so I used brake part cleaner, which works just as well on a powder coat finish.

It evaporates completely and leaves no residue. It took the goo off the side, and I let it dry while I prepped the decals, by trimming them down to minimum sticky backing, and then lightly applying Windex to the sticky side. That way, you can adjust the decal if it doesn't lay perfect on the first try.
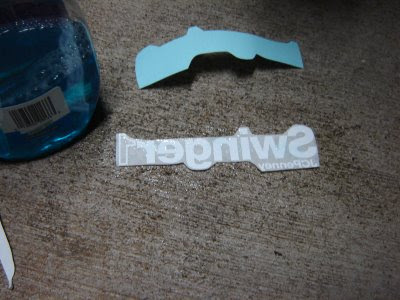
I got them lined up, and when satisfied, ran over them with a squeegee. Then all I had to do was wait about an hour for the windex to completely dry, and then I was able to pull the backing off gently. No problems, although one P in Penny did come off on the backing, but I was able to place it directly on the tank without it looking bad.
The finished product.

I may or may not throw another set of Polini decals on under the inger1 part of the decals, but feel free to voice an opinion on if I should or not.

 Here I have a new condenser and points, so I decided to set myself up with a nice fresh ignition for this bad boy.
  When you install new points, make sure to grease both sides of the pivot pin and also the cam.
  The internal coil is slick. I've removed my tail lighting coils, since I've been running a battery tail light. I may put the running light coil back in eventually if I decide to run some kind of a moped taillight on here, but for now, simple is good. The Yellow is headlight, and the blue wire screws onto my condenser so I can ground it out as a kill switch.
  After a little shaving of the spark plug wire to get it to thread into the coil, I put the flywheel back on, set the timing, hooked up my subtle kill switch and now look at the finished product. Nice hot spark and no unsightly mess!


